Squoosh
上传图片时,最让人纠结的往往是文件大小。 原图太大,网站不让传;压缩得狠一点,照片里的细节没了,截图上的小字也开始发虚。反复导出几次,最后自己都分不清该用哪一张。 Squoosh Squoosh 是
Introduction
When uploading images, the biggest concern is often the file size.
The original image is too big and the website won't allow it to be uploaded; if you compress it more harshly, the details in the photo will be gone, and the small text on the screenshot will start to look blurry. I exported it several times, but in the end I couldn't tell which one to use.
Squoosh
Squoosh is an open source browser image compression tool from Google ChromeLabs. It supports adjusting the file size while viewing the image quality. This is also its unique ability to view the comparison between the compressed image and the original image in real time.
It is also an image compression tool that supports adjusting image size, switching output formats and setting compression quality. It is suitable for checking images one by one before exporting.
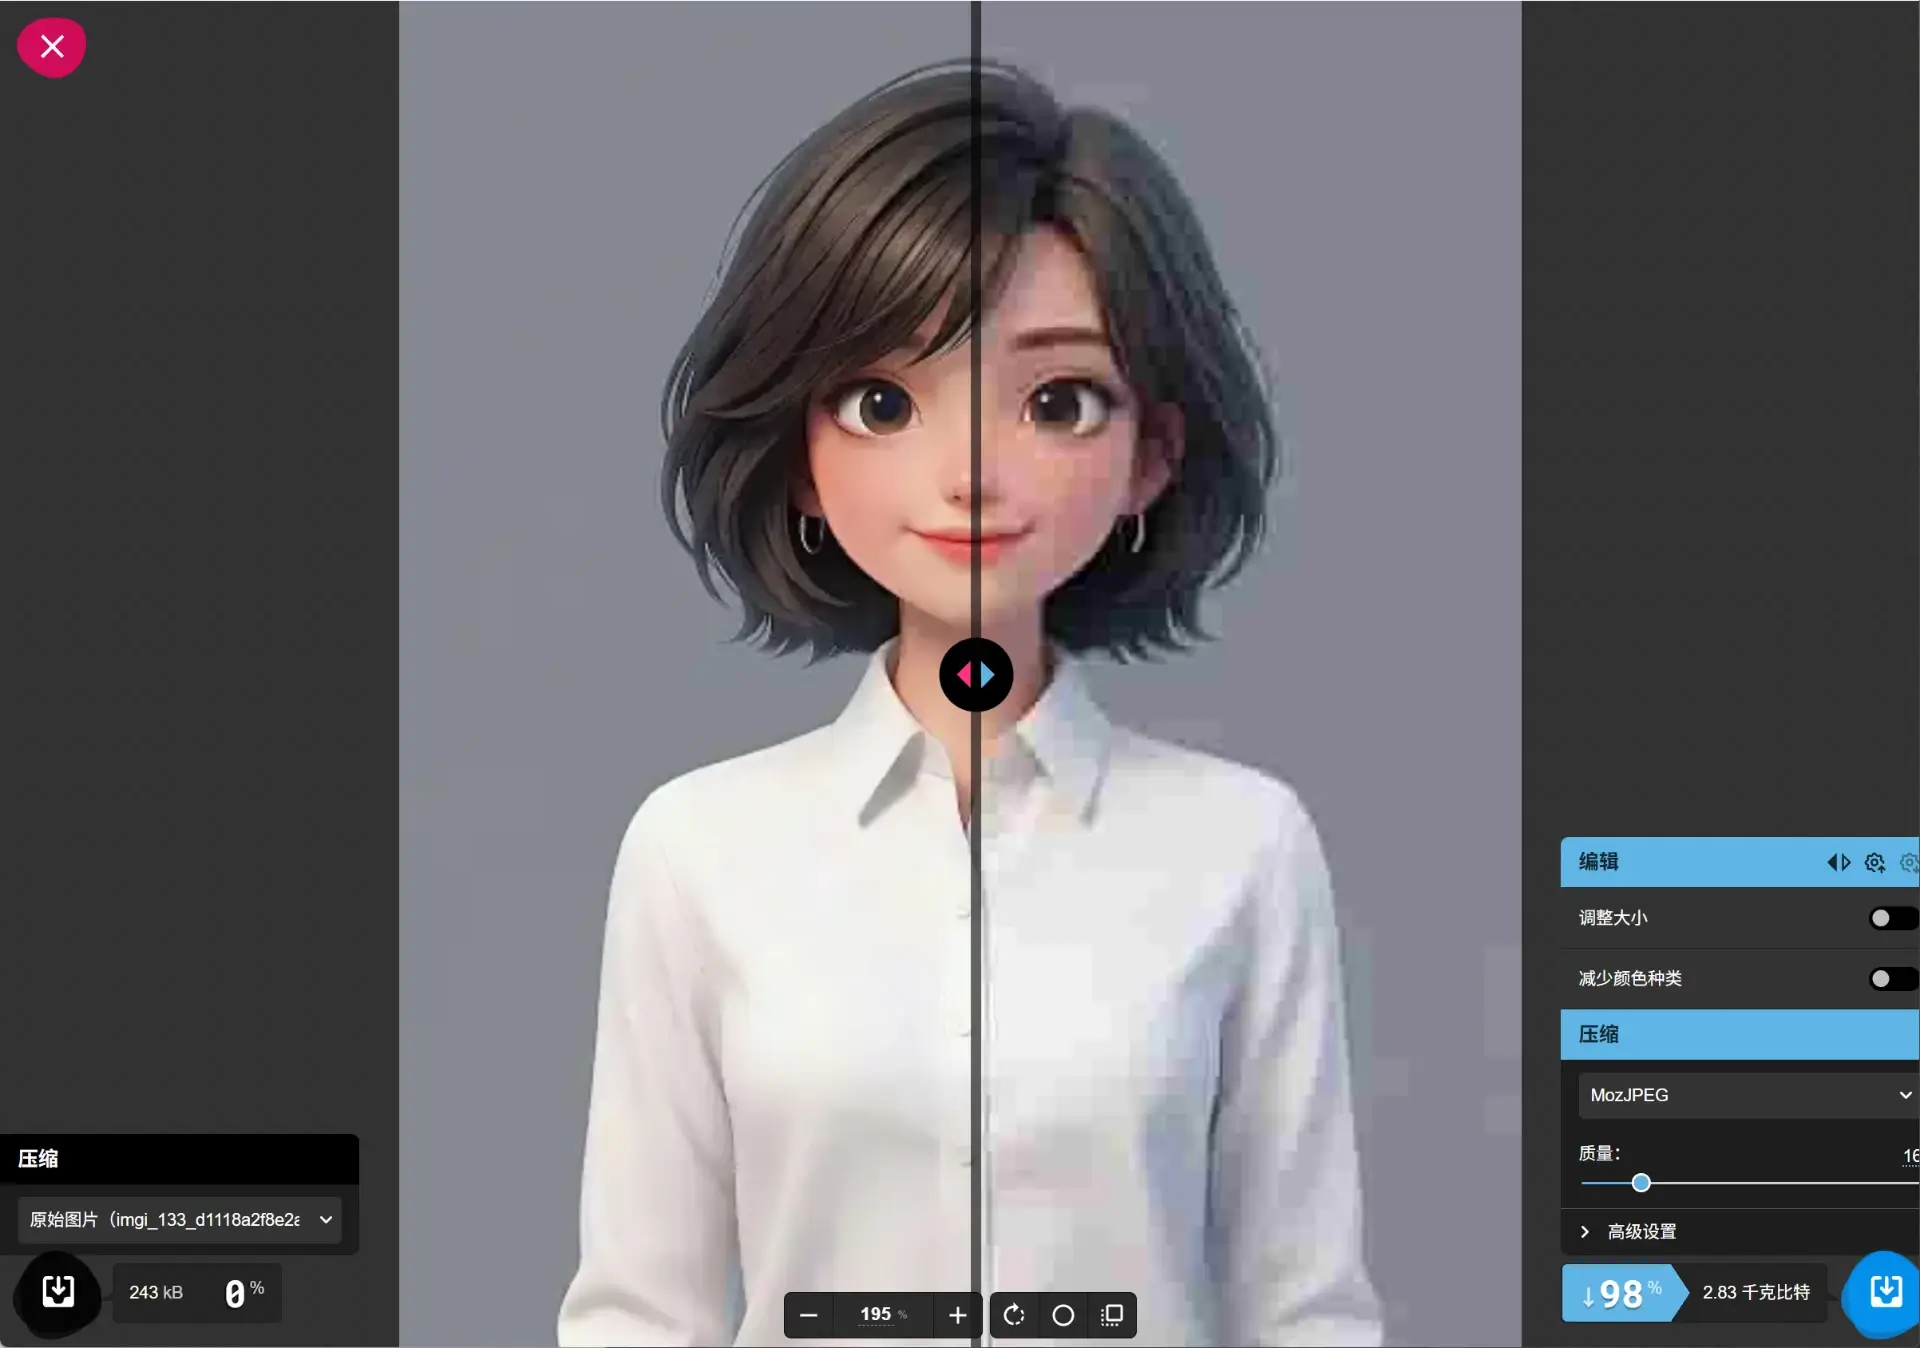
Note that the website is in English. Generally, users only need to adjust the slider in the lower left corner to adjust the compression quality. The other parameters are left as default.
Tutorial
The first step is to drag in the image. Don’t rush to change the size yet.
Open the website and drag the image into it, or click on the page to select the file.
After entering the editing page, usually the original image is on the left, the compressed preview is on the right, and there is a draggable dividing line in the middle. The file sizes are displayed below.
It is recommended to keep the original size at first and only adjust the compression settings.
When comparing like this, you can tell that the change in image quality comes mainly from compression. If you reduce the image, reduce the quality, and reduce the color at the same time, it will be difficult to determine which step makes the image blurry.
Picture matching suggestions: Take a screenshot of the editing page and mark the "original image", "compressed preview", "comparison boundary" and "file size".
The second step is to select the format based on the image content.
There is no need to study the formats one by one. First, it depends on what images you want to process and what formats the uploading platform supports.
For ordinary photos, you can try MozJPEG first.
MozJPEG here is a JPEG encoder and exports common JPEG images. If the target platform accepts WebP, you can also switch to WebP to compare and see which file is smaller under similar look and feel.
For screenshots with a lot of small text, try OxiPNG first.
It outputs PNG, which is suitable for preserving text and lines first. When maintaining the original size and not reducing colors, you can first see how much space lossless optimization can save. PNGs that have been optimized may not become noticeably smaller.
If PNG still exceeds the limit, try another format and double-check the fine print.
If you need a picture with a transparent background, don’t choose JPEG.
For example, if you have cut out the background of product images and transparent icons, you should choose PNG or WebP that supports transparency, and confirm the transparency effect after exporting.
Before choosing a format, it’s best to look at the upload requirements. When the platform only accepts JPG and PNG, even smaller WebP cannot be used.
The third step is to adjust the quality and focus on checking three places.
When using lossy formats such as MozJPEG, you can passQualityAdjust quality.
Start with the default value, and gradually adjust it downwards. Check the file size after each adjustment, and then drag the dividing line to compare. Don’t just focus on “percent reduction.”
When checking the image quality, you can fixate on the following three positions.
1. Are the small characters blurred?
Give priority to finding the smallest line of text in the image.
Check whether the strokes are still separated, whether there are blurry spots around the words, and whether the light-colored small words begin to blend with the background.
Especially for tutorial screenshots, the entire picture may look good when zoomed out, but once it is enlarged, the menu text is not easy to read.For images whose text needs to be read clearly, readability should be prioritized over file size.
2. Are the edges dirty?
Check the character's hair, product outlines, icon edges, and where dark and light colors meet.
When compression is excessive, noise or color blocks may appear near edges, or otherwise clear thin lines may become loose. These changes tend to be easier to spot on a flat background.
3. Is the file size sufficient?
Assuming that the upload requirement is no more than 500KB, you can stop when the image is below the limit and the details are acceptable.
There is no need to continue to sacrifice image quality in order to further compress the file to 100KB.
in addition,Setting Quality to 75 does not mean that the file will be reduced by 75%, nor does it retain 75% of the original image quality.. Quality values in different formats cannot be directly compared horizontally.
Picture suggestion: Enlarge the same small text or the edge of an object to show the difference between higher quality and over-compression, while retaining the file size reading.
Step 4: If it is still over the limit, consider reducing the size.
If it is still too big after adjusting the quality, you can openResize, appropriately reduce the image width and height.
For example, a photo that is several thousand pixels wide is only used for small illustrations in an article, and it may not necessarily need to retain its full size. But if it is a densely packed tutorial screenshot, if it is reduced too small, the pixels occupied by the text itself will not be enough, and no matter how high the quality is, it will not be able to make up for it.
It is recommended to read twice during the inspection:
- See details at 100% zoom, check text, outlines, and compression traces.
- View it again in actual display size, confirm whether it is clear to readers when browsing normally.
Squoosh's preview supports zooming. Don’t judge image quality only on the basis that “the whole picture just fits on the screen”, as that would be easy to overlook the problem.
Step 5: After downloading, open and check
After confirming the effect, click the download button next to the compression result.
After saving, open the exported image and confirm the format, size, file size and text clarity. If there is a transparent background, check that too.
Remember to keep a copy of the original image.If you need to change the size or re-adjust the quality later, try to start from the original image to avoid repeatedly compressing the file that has been processed in a lossy manner.